Monday, May 31, 2010

The Quilt-A-Thon Results Are In

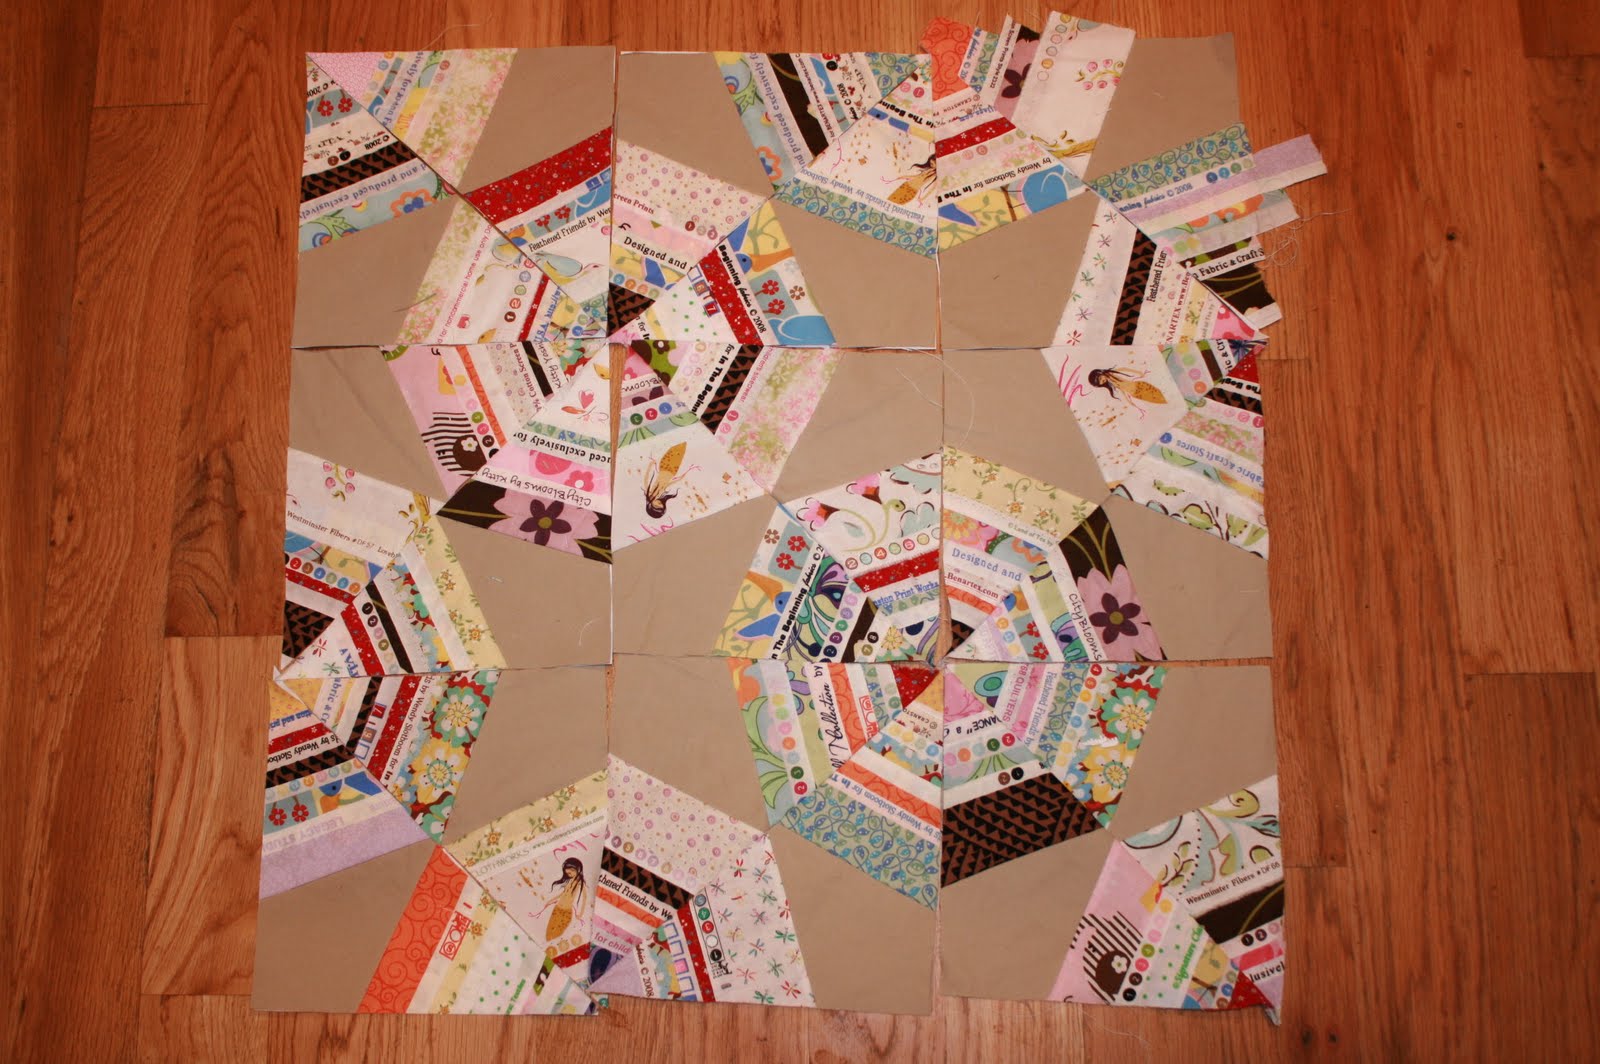
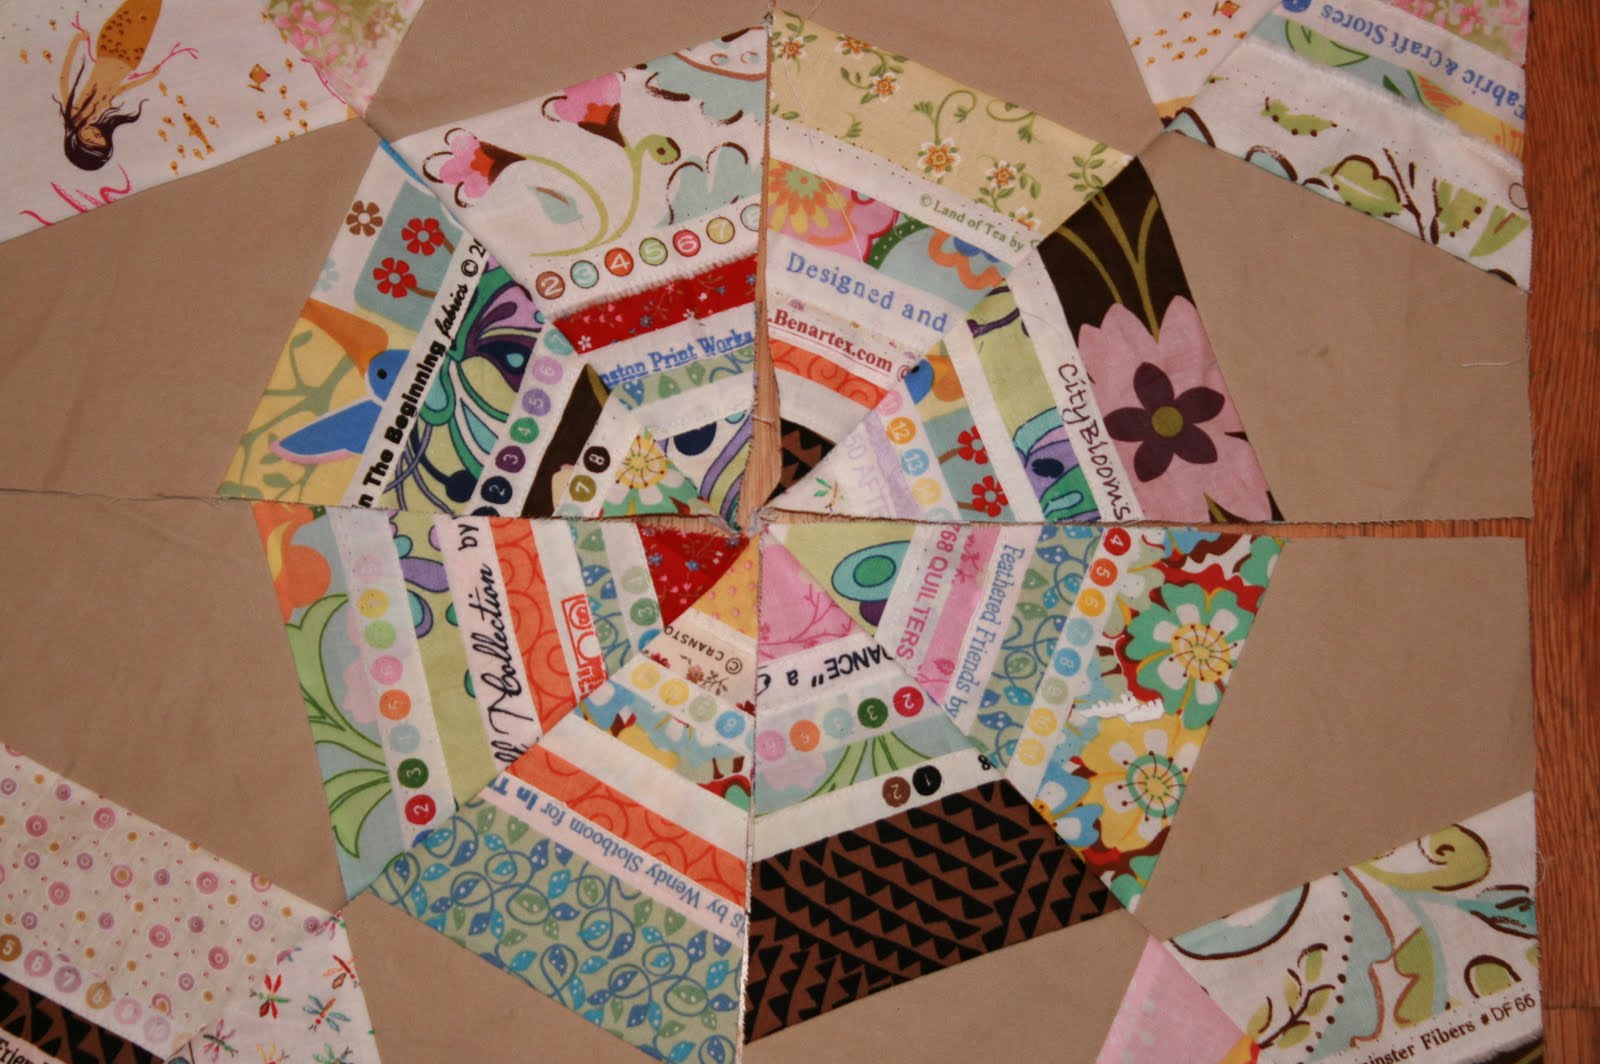
You may remember that I was headed to my mothers for a Quilt-A-Thon weekend. We had a wonderful time. It is always great to spend time with my mom. We enjoy doing so many of the same things, that we get along like oreos and milk. Between the two of us (an addition to a night at the movies with the best Sushi I have ever had, a family BBQ with my aunt and Uncle and Cousin's family, and lots of patio time soaking up the sun kissed air), we sorted dozens of color schemes for future quilts, we finished 5 quilts and started 2 and made progress on 2 more. Wowza- now that is a Quilt-A-Thon.
Quilted - Mint Chocolate Chip Quilt:


(p.s. Mom- I need some more of the green with brown print for additional binding, I am a little bit short)
Life's Ups and Downs is finally complete:


Don't you love the polka dots?


Also quilted the Floral Fantasy Quilt and the Smoothie Quilt. That is 4 quilts quilted in just 3 days! Went a little crazy, but my Mom has the greatest machine for quilting so I took advantage of her generously offering to let me quilt away on it til my heart was content. Well I did quilt away and away and away into the night and morning. I brought 6 quilt tops that needed quilting and 4 was all that my body could handle. Pesky body needed some sleep.
Floral Fantasy above
Smoothie Quilt

The Mint Chocolate Chip Quilt is going home with Danbi for her parents in Korea, but I am willing to part with the others if anyone is interested. Speaking of which, I am getting together photos and information for a portfolio of my work for potential quilt making gigs. Let me know if you are interested, we can work something out.
You may have noticed I have listed Ribbit in my pending projects, but have never shown you any photos of it. That little fellow is almost complete also. It is very special, just a little something to look forward too. I hope to have it finished within two weeks and I will unveil it then.
Also I have a new little romance going with this seductive color scheme:
I will keep you posted.


Tuesday, May 18, 2010

Princess in our Midst

This is not strictly quilting, but it is still sewing so I think it counts. My sweet teenager talked me into setting aside all of my quilting projects to complete a labor of love for her. The big Spring Banquet is coming up and unfortunately the dress she wanted could be rounded up to $1000. (yes, three zeros) I was delighted when she showed interest in me making the same type of dress for a fraction of the price, plus using the burnt orange she really wanted. (Orange not shown in picture--it shows up further down the assembly line, it will wrap around like a super wide belt and bow in the back.)


This is one of the "Poofy Test" picture series. Obviously as a teenager, my daughter needs to be able to show her BFFs at school the rough draft of the dress and get their opinion on the poofy-ness. This is not great news for me. That is 32 yards of tulle gathered and attached to a
23 inch waist. But I did cheat and fold the whole thing in half so I only really had to work 16 yards. But still, 16 YARDS!! If the BFFs decide it is too much "Poof" then all my hand gathering is going to go "poof". However, I do have a backup plan if they love the "Poof" and want more. There is a provision for an additional under ruffle of poof at about shin level. So keep your fingers crossed with me that the dress at least passes the "Poof Test" or goes in the direction of believing if a little is good, more is better. I do not have much time to work on this baby--I am headed to my mom's place on Thursday, where it will be just me and my mom and a couple of sewing machines. Yippee a quilt-a-thon, enough with the fluff.

Saturday, May 15, 2010

Bye Bye Baby!


Check it out!! My very best ever binding job ever. So... I followed a tutorial at a blog by Red Pepper Quilts step by step--I even used an adorable red and white just ike the tutorial. And it turned out faublous. Backing up a little bit, here is the story.
Last night I got this wild hair and put together a baby quilt for a friend of my husband. I went with the wonky stars in primary colors. Those stars have been on my horizon for a few weeks now and so Danbi, Sara, and I sat down together and cranked a few out. Danbi is the best international daughter in the world, and Sara is her good friend. Danbi is making her very first quilt, so she is a ace on the sewing machine. Sara had never put her foot to the petal before, but she sewed like a champ. The girls helped lay out the pattern. The gift actually went to a teacher of theirs, so they had fun being a part of its' creation.

Sorry the pictures are so washed out. I finished the quilt at *:30 (the actual number will be left out to protect the obsessed), and the sun had not quite come up yet (althought it was pretty close). After an alarmingly short nights sleep, I dragged myself out of my warm snuggly bed and took a sad and sorry couple of photos before my husband could give this cute little baby quilt away. Bye bye Baby.

Just an added quick note: This is a great tutorial for making a "wonky star" quilt. Go to this link: http://thesillyboodilly.blogspot.com/2009/02/wonky-star-tutorial.html
She does a great job to help best utilize fabric--I wish I would have seen it before this quilt baby.


Saturday, May 8, 2010

Apparently Not Too Soon For "Fall"

It has been busy around the house lately. I have been working on a few projects (not the least of which is house cleaning and laundry taming). I managed to finish all the rows for the Zig Zag and the Blue Signature style quilt. The Dutch Butter Churn squares are slow and seem very small when they are finished, I haven't taken inventory on how many more I will need for that little pretty, but I am sure it is in the neighborhood of a million. The black and whites are strictly scraps from a Christmas gift quilt to me niece, I am really excited about how they are coming together.


And while we are on the subject of exciting things; my 15 year and friend had a great big "fall" off a water tower. Yes, you read that right "a water tower". This was not an approved activity--not climbing on the tower nor falling off the water tower. She and her buddy both broke bones and are a regular pair of gimps for a while now. I told her there would be consequences in addition to her pain and suffering. But after 2 casts and 1 full arm splint, I just haven't had the heart to punish her. So it turns out I am a big softy.
The partners in crime before:

And after:

Ironically, we just paid off our bill at the local orthopedic center. The cast tech said he would meet us somewhere else, we didn't have to keep breaking bones to see him. We were hoping for a frequent users punch card, I am pretty sure we are up to our free treatment by now. I guess I will just keep watching for it in the mail with my fingers crossed.

Last night I read the funniest thing about unfinished quilting projects. If you have an unfinished project or two or eighteen, you will enjoy this. Follow this link to read about The Tricky Art of Finishing What You Start: http://makegreatstuff.com/the-tricky-art-of-finishing-what-you-start/ Sara Bush is a fun blogger to read, I could really identify with her. I am motivated to get a few more projects finished after reading her blog...well, I mean theoretically, I am motivated, except it will have to wait because I am currently entertaining a new romance with a seductively good-looking idea (plus there are birds on the fabric and I just love those little guys).

Monday, May 3, 2010

A Little Bit of This and A Little Bit of That

My short attention span has got me doing a little bit of this quilt and then moving on to another. Lately, I have just wanted to bop around from one project to another. Today, for example, I worked on the Denise quilt--I finished all of her squares. I worked on designing an animal print bed covering quilt for my Steph. I completed three rows on the Zig Zag and then started playing with a pretty selvage edge spider web quilt. I should probably be medicated for some form of attention deficit disorder. Lucky for me, there are few drawbacks to thriving on variety. And in this case plenty of rewards.

The selvage edge spider web quilt is just one of those little rewards. While surfing my blog favorites, I got the idea from the this blog. It is so pretty and the quilting is inspiring. Check it out: http://selvageblog.blogspot.com/2010/03/spider-web-quilt-is-quilted-wow.html
I can't remember exactly where I found the tutorial , but I will look and try to add it in for reference. ( Here is the link: http://tallgrassprairiestudio.blogspot.com/2010/04/spiderweb-tutorial-for-selvages.html) When I looked at the directions I began to doubt I would still want to do it, but once I got going, it was not difficult. Plus, look I got to use a smidge of my mermaid fabric. The tutorial suggested cutting the selvage edge with varying thicknesses of fabric showing. You can see that some of mine are real thick and others are a narrow band. But you will notice each of them has at least a little peek-a-boo of the fabric which the selvage edge is attached. The thing that makes this quilt so cute is the combination of all of the color info and logo on the selvage edge. ...And to think, I used to just throw that part away. A finished square looks like this: Each diagonal half of the square is assembled on a piece paper. The first thing is to follow the tutorial directions to cut the tan piece. Then lightly glue the it on diagonal half of an 8.5" square piece of paper. The first layer is closest to the tan, place a section of selvage edge right sides together with the outside long side of the tan and sew along the long side of the tan. Sew through the fabric and the paper. Then flip that first section of selvage right side up and get another selvage edge ready to tuck 1/4 inch under the bottom edge of the previous section. Sew the first edge down right at the edge of the selvage edge with the new piece tucked 1/4 inch under. Keep adding selvage edges until you reach the point (try not to make it bulky here). I realize that these written directions may be difficult to follow, so I suggest checking out the very clearly illustrated tutorial.

So this is what the piece top looks like after all the sections are sewn on and only one side has been trimmed. If you flip the triangle over, it looks like this:
When you have 2 of these triangles finished, then sew them together, right sides together along the long edge of the triangle. When you get a few of them done, you can lay them out and take a peek:
Do you see my little Heather Ross mermaids?

I have raided all of my fabric stash for selvage, the more color test dots the better.
It is a good puzzle like activity of trying to best utilize the pretty stuff on the edges. Seriously, I spent way too much time playing with it. How many hours of sleep at night are REALLY necessary anyway?!?